- Expert advice/
- Invites & paper/
- Invitations/
- How to Make DIY Wedding Invitations
- Invitations
How to Make DIY Wedding Invitations
If you want to DIY your wedding invitations, that's great. There are just a few things you want to consider. Here are tips and tricks for DIY-ing your invites.
Last updated July 1, 2025
Shop invitations
View allAre you in the market to make your own wedding invitations? More power to you! There are a number of reasons why DIY wedding invitations may be calling your name. For one, you may be a craft connoisseur, always looking for your next project. Two, you may be trying to make room in your budget wherever possible. Three, you may want to personalize your big day in any way you can.
Whatever your reason, we’re here to support you on your DIY journey. Here, you will find all the steps to learn how to make wedding invitations from scratch or from a super cute printable that you find on Etsy. That’s right, you don’t have to DIY every element of your invite. We’ll discuss all your options so that you’re prepared for whatever you’re getting yourself into.
Benefits of Doing DIY Wedding Invitations
First things first. Before we jump into how to DIY your wedding invitations, let’s quickly cover why you would want to take the DIY route for your wedding invites to begin with.
There are a number of benefits for doing DIY wedding invitations, including:
-
DIY is more cost effective. Ask anyone who is deep in the wedding planning process and they’ll tell you—weddings are expensive. Taking the DIY route for your wedding invitations can help you save money and stick within your wedding budget. (This can also leave room in your budget for other fun wedding-related paper projects, like matching wedding stationery or thank you cards.)
-
Taking the DIY route allows you to customize your invites. When you order pre-designed wedding invitations, you’re stuck with the existing design. By designing your invites yourself (or using a customizable template), you can create custom invitations that allow you to play with different design elements (like the color palette or the font and layout of your wedding invitation wording) and create a wedding invitation that reflects your own personal style.
-
DIY wedding invitations are fast. It can take weeks (or even months!) for printed invites to get delivered. But when you take the DIY route, you can print at home or at a local printer—which means you can have your wedding invitations in hand and ready to deliver in minutes/days, not weeks/months.
How to DIY Wedding Invitations
Before you start snipping and stapling, you have to establish a vision of what you want. Let’s walk through a tutorial of everything you need to know to DIY your wedding invitations—including gaining inspiration, getting all the right materials, creating a digital invite and a physical invite, and all of your semi-DIY options:
1. Create the Vision
Before you embark on your DIY journey, it’s important to envision your ultimate invitation design. Browse Pinterest, Instagram, and stationery websites to get a feel for some wedding invitation ideas. Ask yourself, “Can I create this on my own? What parts will I need help with?” The sacred rule of DIY-ing is knowing what you’re getting yourself into. With wedding-related DIY projects, this is especially important. Your time and resources can only stretch so far, so where does it make the most sense to allocate them?
Once you have a general idea of what you’re going for, it’s time to decide on the specifics:
2. The Paper
Wedding invitation paper should be sturdy, such as thick, cardstock material—not simple computer paper that could easily rip or damage and both looks and feels cheap. Beyond its durability and thickness, you also need to decide on the paper’s color and texture. Pay a visit to a local craft store or stationer to see and touch the paper in person, and select a few different wedding invitation styles to test in your printer (if you plan to print your invitations at home).
Tip: When considering the color of the paper you choose, think ahead to how you plan to print details on the paper. An at-home printer will have a difficult time printing white or colored font on a dark background, but if you plan to calligraph the paper it will probably show up just fine.
Once you’ve selected and tested the paper, it’s a good idea to purchase more of it than you think you’ll need. This will give you the ability to start over if you mess up, which is bound to happen. It’s better to expect mistakes and be prepared than to become upset when they happen and lack the supplies to move on.
3. The Font
The font is a key indicator of your wedding personality—and will play a major role in how people read and respond to your wedding invitation wording. Traditional calligraphy reads elegant and formal, modern calligraphy reads trendy and fun, and block lettering reads contemporary and cool. If you’re working with your own handwriting, you can take calligraphy classes to learn the skills that you need to achieve your desired look. You can also use a computer font, or download a digital font that suits your style from a site such as Creative Market.
4. The Presentation
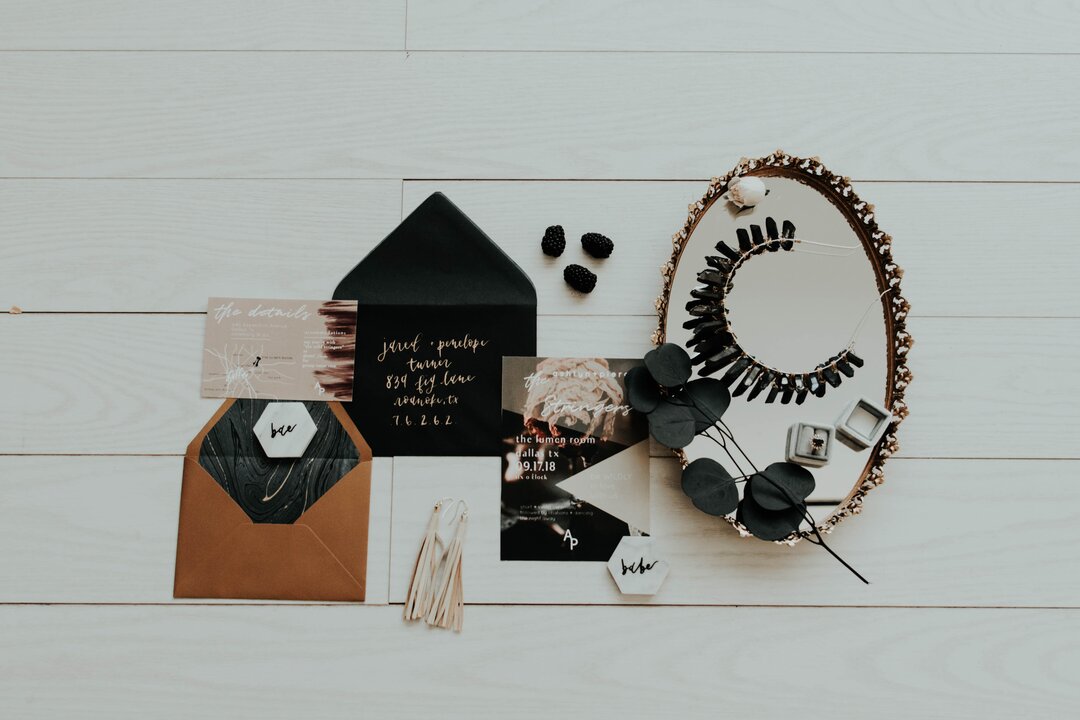
The invitation isn’t the only piece of paper that you need to worry about. You will also need an envelope, envelope liner (if you plan to use them), wedding RSVP card, RSVP card envelope, and details card. All these elements, as well as how you tie them together, are part of the grand presentation of your invitation suite. You want your guests to be wowed and enchanted when they slip open the envelope. Here are a few ways to do so:
-
Use an envelope liner, which is paper with a pattern or texture that suits your style or theme cut and glued to the inside of the invitation envelope, to capture their attention right away.
-
Consider vellum or acrylic layers to add a unique “veil” to your invite and protect it, too.
-
Tie all the moving parts of your invitation together with ribbon or twine in your color scheme.
-
Place all of the pieces of your invitation in a slim, aesthetically pleasing box or folder and ship them that way.
5. Determine the Costs
Once you’ve locked in all the materials you’ll need for your DIY wedding invitations, it’s time to determine how much your wedding invitations are going to cost. Tally up the total costs for everything you’ll need to design and print your invitations, including paper, envelopes, postage, any embellishments (like gold foil), and printing costs (for example, ink if you’re printing at home or the fees to print at a local print retailer). If you’re using a pre-designed template, you’ll also want to include that in your total costs.
Once you’ve determined the costs for your DIY wedding invitations, compare it to your total budget. If you feel comfortable with the costs? Great—you’re ready to go. If your invitations are costing more than you’re willing to spend, consider swapping out some of your materials for more affordable options or ditching some embellishments to bring your costs down.
6. Set a Time
Homemade wedding invitations are not something that you want to leave until the last minute, as they take time. Instead, plan ahead and set aside more time than you think you’ll need to make your own invitations. Invitations should be sent out eight weeks before your wedding day, so give yourself enough time to create, print, and assemble the invitations—and leave a buffer of time for mistakes so that you end up with the perfect wedding invitation.
7. Create a Digital Invitation
Now that you have the vision for your invitation, you can execute on it. If you’re well-versed in graphic design or savvy with digital creators, you may be able to make your own wedding invitation design using Photoshop or Canva. When using either of these tools, you will have total control over the creative, wedding invitation fonts, colors, shape, and size. If you’re looking for a simple invitation with only text, you can even create it in a word document using rulers and your chosen font.
8. Printing
The next step is to print your creation, unless you plan to deliver it virtually. When it comes time to print wedding invitations that you have digitally created, you have two options: print them at home or partner with a retailer.
Tip: When printing at home, be mindful of the edges. You will likely need to enlist the help of a good paper cutter in order to trim any margins unavoidable with most at-home printers and make your invitation the right size.

9. Create a Physical Invitation
If you’re savvier with a fountain pen than a mouse, you may prefer the old-fashioned way of creating wedding invitations. Stockpile your cart at Michael’s or Amazon with everything that you’ll need to create a paper invitation from scratch, such as paper, materials for writing or a text rubber stamp, any decorative accents you desire such as ribbon or embellishment, lots of glue dots and double-sided tape, and envelopes. Then, let the creative process commence.
Tip: Practice, practice, practice. Human error is never more prevalent than in DIY projects. There’s the potential for misspellings, mis-measurements, mishaps with glue or glitter, and the like. Create a few iterations first and model your invites off of your favorite version.
10. Delivery
Wedding invitations made from scratch require extra care when assembling, stuffing, and sending them. Now is the time when you will refer back to your ideal presentation that you envisioned earlier and execute on it. Wrap your beautiful invites carefully in ribbon and consider using an envelope inside of the outer envelope to hold all the pieces in place.
After putting all that work into making your own unique wedding invitations, it would be a major bummer if they were ripped or damaged during the mailing process. Avoid this potential hindrance to your precious invites by hand-cancelling them. This is when the post office stamps each envelope manually, rather than running it through a machine. There’s more than one reason to hand cancel, though; the stamp is also sometimes more visually appealing, and will add a vintage or hometown flair to your invitations. In some places, the office will even let you hand-cancel your own envelopes. How DIY-friendly is that?
Semi-DIY Wedding Invitations
If creating a DIY wedding invitation from scratch sounds like too much work, but you want to wield your creativity or save money in some way, there are plenty of semi-DIY invitation options.
Professional Calligraphy
If you’re comfortable creating the actual invitation either digitally or physically, but don’t want to take on the taxing task of addressing each envelope, or you aren’t confident in your handwriting ability, you may want to outsource the envelopes. You can hire a calligrapher, equip them with your guest list, and await beautifully addressed, consistent invitations.
Pre-Designed Templates
If it’s the actual invitation that you don’t want to craft, there are plenty of sites that offer pre-designed wedding invitation templates. Some will print the invitations for you, and others offer templates as downloadable files that you can print on your own.
While DIY-ing the printing process is seemingly more affordable, don’t forget about the cost of paper and ink, plus the time and effort that it will take. Before taking on this part of the process, consider the size or your invitation, the quality of paper, the amount of text, and any additional aspects that may make printing at home exceptionally difficult. You can also partner with a local print shop or a superstore that provides printing services, both of which can help you execute your print job expertly.
Whether you DIY the creating, printing, stuffing, or addressing process (or all of the above), your wedding invitations are sure to turn out beautifully and show off your personal style to boot.
Shop invitations
View allUp next for you
Should We Use a Wedding Invitation Template?
Advice
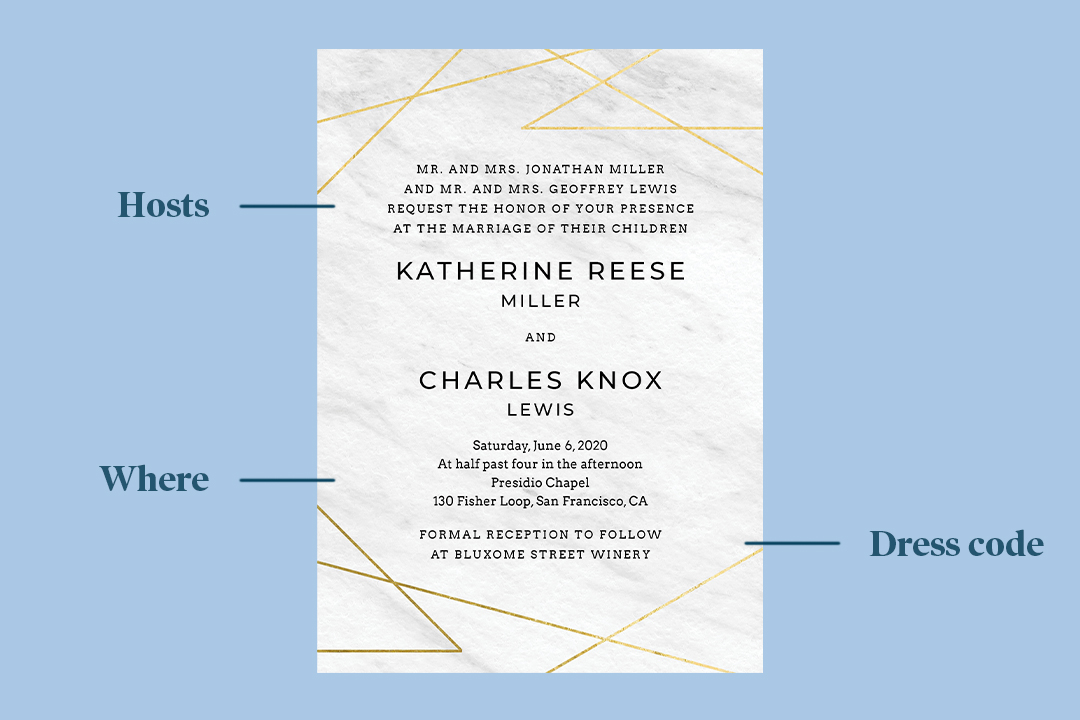
Wedding invitation templates are gorgeous ways to go about designing your wedding paper suite. Here's how to select and customize a wedding invitation template.
How to Address Wedding Invitations: Etiquette & Examples
How-To
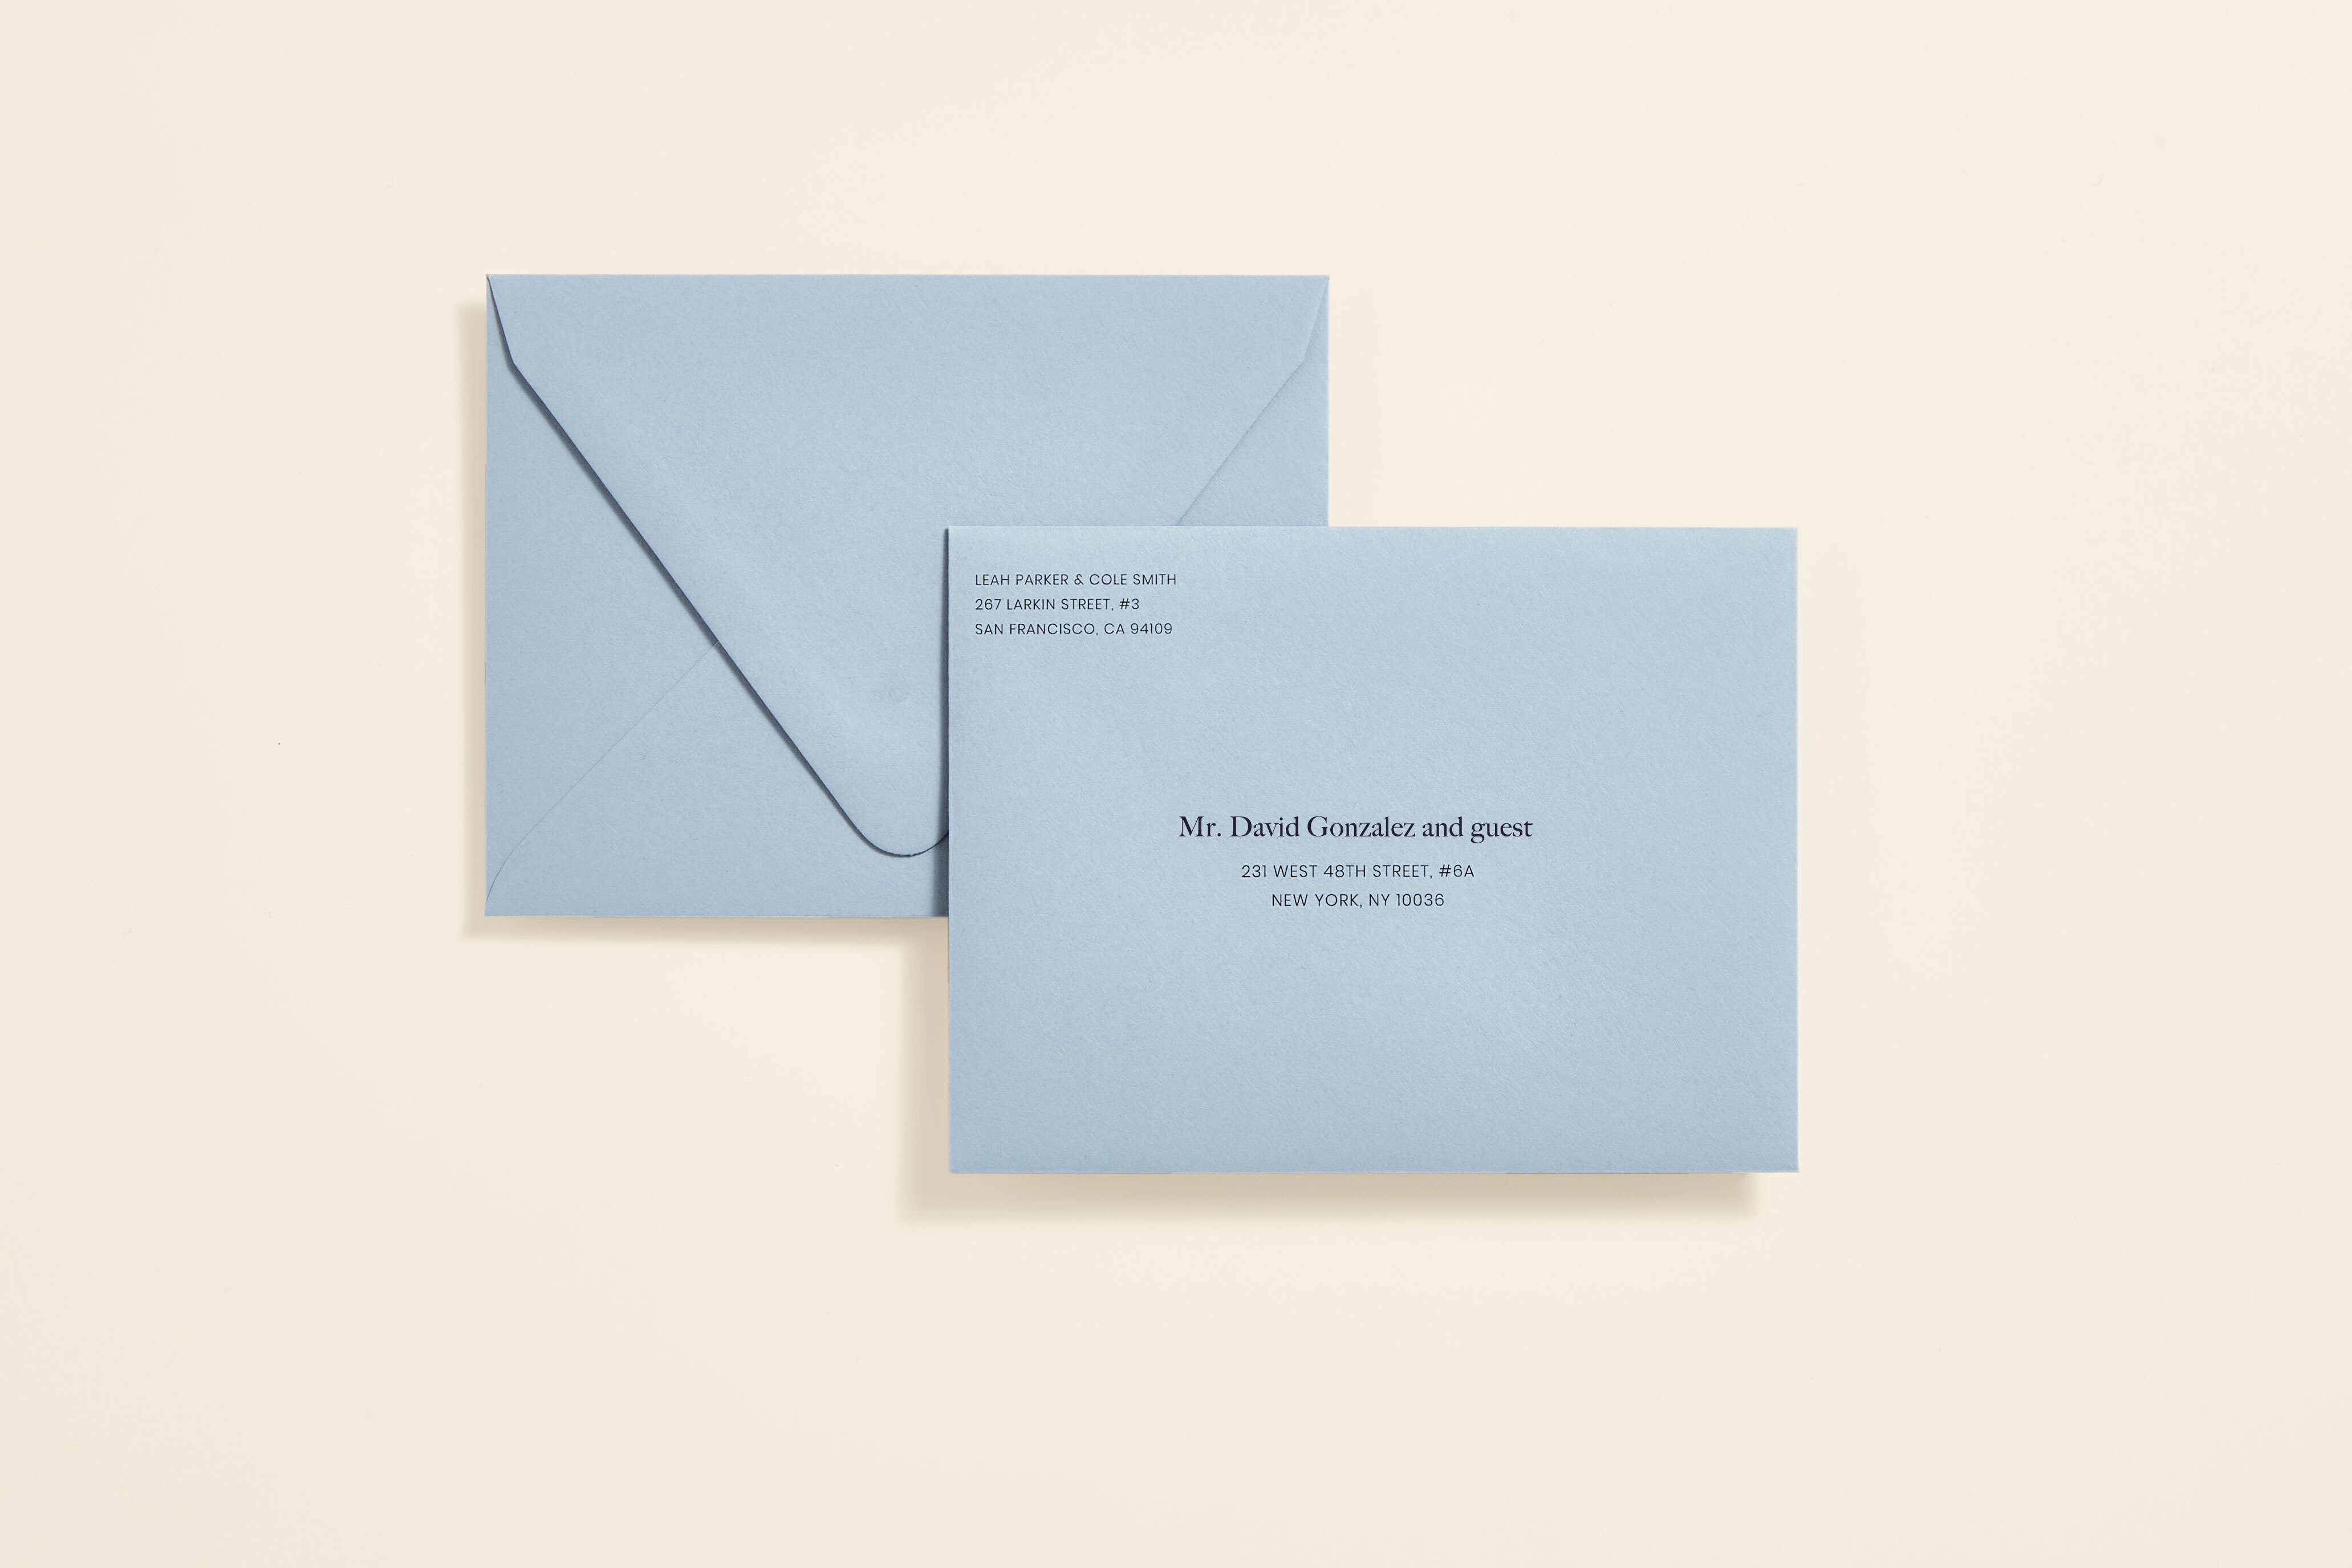
Master the art of addressing wedding invitations with proper etiquette. Learn formal and modern approaches to create elegant and inviting cards.

When To Send Save The Dates
Advice
Timing is key! Generally, save the dates should be sent no earlier than 8 months and no later than 4 months out from your wedding. Learn the specifics and more in this article.
A Guide to Wedding Ceremony Programs
Inspiration
Wedding ceremony programs communicate valuable information to your guests about your ceremony service—find out all you need to know to choose, word, and personalize your wedding programs.
- Expert advice/
- Invites & paper/
- Invitations/
- How to Make DIY Wedding Invitations
Find even more wedding ideas, inspo, tips, and tricks
We’ve got wedding planning advice on everything from save the dates to wedding cakes.
