- Expert advice/
- Invites & paper/
- Invitations/
- How to Stuff Wedding Invitations: A Complete Guide
- Invitations
How to Stuff Wedding Invitations: A Complete Guide
Zola cordially invites you to the ultimate tutorial on how to stuff your wedding invitations! The perfect formula for fantastic invitations.
Last updated July 1, 2025

Shop invitations
View allGather your gal pals, bribe your bride tribe, grab the groomsmen, and get to work—it’s time to start stuffing wedding invitations. And the more help you get, the easier the whole process will be. Save the dates may have been a piece of (wedding) cake, but assembling invitation suites require a bit more knowledge. Read on for your need-to-knows when it comes to stuffing your wedding invitations.
Make It a Party!
To entice friends to help, make stuffing wedding invitations a fun-fill day, complete with drinks and snacks. There’s never a bad time to hang out and have fun with friends, so turn this wedding project into a chance to bond.
You don’t have to limit the event to just the wedding party or close friends, either. Stuffing wedding invitations is something your family members or parents’ friends might want to help with, too. Stuffing wedding invites is also a great time to call in a favor to anyone who has ever said: “let me know if you ever need help with wedding stuff!”
Create an Assembly Line
Many hands make for less work, and a wedding invitation assembly line is a tried-and-true method of churning out a flawless finished DIY product. Once you’ve gathered a good-sized crew, divide them up and give them individual tasks.
If you have more people than you need, try breaking people up into teams to work in shifts. You can even turn the process into a party game where the fastest team gets a prize at the end. Don’t be afraid to think outside the box and get creative with how you encourage people to get the job done.
Just don’t be bossy—these people are giving their time to help you send mail. Try to give direction rather than orders; nobody wants to help someone who seems ungrateful. Direction comes in the form of encouragement and gratitude, with plenty of compliments sprinkled on top. This subtle difference will determine whether your friends and family walk away from the day thinking “that was fun” versus “that was a nightmare.” Even if something goes wrong, try and remain calm—there’s almost always a solution.

Know the Perfect Wedding Invitation Order
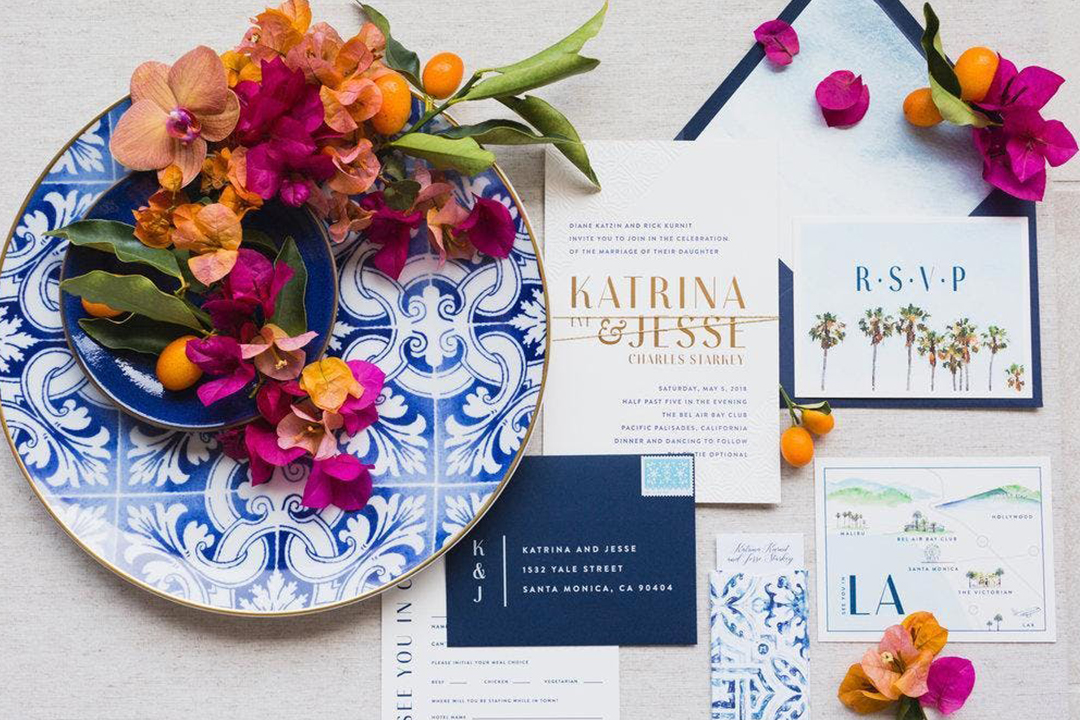
A custom wedding invitation is never just one piece of paper. Usually, a wedding invitation will have anywhere between three and five cards or other documents included with the invitation card itself—and the order in which they’re packaged matters.
Here’s what goes inside the inner envelope, according to order:
- Invitation: The invitation is the star of the show, with crucial information like the wedding date and location. It is also the largest card in this packet of information. As a result, the wedding invitation should be the bottom layer of the invitation packet as a whole. Place your custom wedding invitation face up on the table so you can read the wording on the front.
- Reception card: Place the reception card on top of the invitation, again with the wording facing you. Do your best to center the reception card on top of your wedding invitation.
- RSVP envelope: Place the RSVP envelope, so it lays vertically on top of the reception card with the flap of the envelope opening out to the right.
- RSVP response card: Place the RSVP reply card card onto the response envelope with the wording upright and visible. Fold the flap of the reply envelope over the RSVP card so that it’s tucked into place without being inside the envelope.
- Map: Place the map card centered on top of the RSVP card, wording facing up.
- Accommodation and/or enclosure card: Finally, place the your details card, accommodation card, and/or remaining enclosure cards on the very top to complete your stack.
Before placing the final package inside your inner and then outer envelope, make sure all of the stationery is facing the same direction, with the wording up. If some of your stationery is landscape and some is portrait, turn the landscape cards 90 degrees clockwise, so that they are vertical and centered on top of the other cards.
Assembling Your Invitations
Once you place all of your wedding stationery in the correct order, it’s time to insert the whole collection of materials into the envelope. Here’s the proper way:
-
Start with the envelope laying flat in front of you with the flap open, so the interior is showing. The area where you would write the address should be face down on the table.
-
Turn the envelope 90 degrees clockwise, so that the opening of the envelope is on the right, allowing you to slide the invitation packet or inner enveloped into the outer envelope from right to left. From this position, the top edge of the invitation, and subsequent inserts, should align with the left edge of the envelope.
-
With the invitation package facing printed side up, slide the entire packet into the opening of the envelope (from right to left) with the front/wording of the invitation being the only visible piece of the invitation packet. This method ensures that when your guests open the wedding envelope, all they have to do is open the envelope flap, pull out the invitation, and twist 90 degrees clockwise (if your invitation has a vertical design) to easily read the most important details. The reason for this is that most people are right-handed (sorry lefties), and this method is the most natural way to open and read something that is in an envelope.
-
To ensure you have inserted the packet correctly, check and make sure you can still see some of the wording of the invitation documents before closing the flap. Even with everything stuffed into the invitation envelope, you should still be able to see a visible portion of the front of the documents.
-
Lick the envelope and press the flap down over the open interior, using your index and middle fingers to make a firm seal.
Now, only a few (hundred) more and a trip to the post office, and you’re all done.
Tips to Use While Assembling
While assembling may seem as simple as ordering, stacking, and stuffing, a few key tips can take the task from difficult to worry-free.
-
Try to do it in a single day. It might initially seem like an insurmountable task, but trust us: Getting the invites stuffed, sealed, and stamped in one day is the way to go. Doing so ensures that you don’t lose your place, misplace certain items, or get off track with wedding planning.
-
Don’t have food or drinks near the invites. The last thing you want is for something to spill on a pile of invitations. Work in a space that is clean and clear of anything that could tip over and stain.
-
Put each piece in its own separate stack. Have one stack for the invitations, another stack for the rsvp card, etc. That way, you can move seamlessly across the table you are working at, building each invitation one piece at a time. This strategy will make it much easier for you to stuff the entire invitation packet into an envelope as a group. If you try to put each individual piece of the invitation packet into the envelope instead of the aforementioned stacking method, it could lead to a much longer process, with more room for error.
-
Do the stamps last. This only applies if you aren’t using an assembly line method with friends. If you have an assembly line, you can put someone on stamp duty, but if you and your SO are stuffing envelopes by yourself, doing the stamps last is a big time-saver. Also, do yourself a favor and use self-adhesive stamps—no one wants to lick that much postage. If you want to learn how to send wedding invitations, Zola can help you.

Wedding Invitations FAQ
Despite covering all of the how-tos, we anticipate you still have a few questions regarding the invitation assembly process. No worries—we’ve compiled a few helpful questions and answers below.
-
If I order through Zola, will by wedding invitation suites arrive assembled? In short, no. Each element of your paper suite (invitations, detail cards, RSVP cards, etc.) will be sent to you in stacks so that you can assemble them however you desire.
-
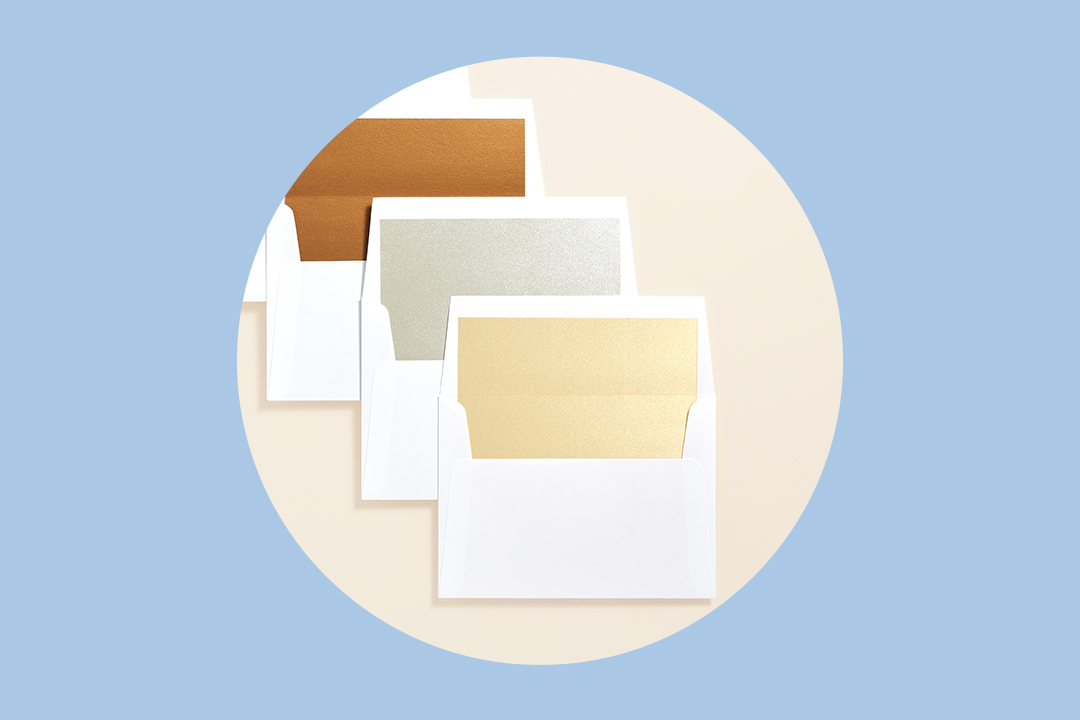
What’s the difference between an inner and outer envelope? Invitations to formal events—or those that are embellished or include delicate materials, like vellum or tissue paper—are typically packaged in both an inner and outer envelope. The outer envelope is your standard mailing envelope which contains your guests’ mailing address. The inner envelope, which is usually more decorative (e.g. delicate materials or calligraphy), states who is being addressed and invited to your wedding.
-
How else can I package my invitations? Aside from an inner envelope, you can secure your stack of stationary with a tied ribbon or belly band (a narrow strip of paper made to wrap around your invitation suite and keep it together). Most often, couples will choose either in one of their wedding colors or in a color that compliments their invitation suite.
Signed, Sealed, Delivered!
When it comes to checking off tasks for your big day, you never want to let tasks build up. Stuffing wedding envelopes is a relatively easy task that simply requires a little stamina. Stream a movie, listen to music—whatever you need to do to help pass the time.
And although you may have to do the work of stuffing wedding envelopes yourself, you’ll be glad to know that Zola addresses your envelopes for free. With this service, there’s no need to hire a calligrapher to write out each of your guests’ names, no double-checking mailing addresses, and, most importantly, no hand cramps. We pull guest information straight from your Zola registry, so you don’t even have to worry about plugging in any additional addresses.
Our goal is to make this process as easy as possible, so that you can enjoy all the fun that comes with wedding planning. We’ll ship the invites, inserts, envelopes, and whatever else you include straight to your door, and we’re always here to answer any questions, so you can get the job done and send our your invitations lickity-split.
Shop invitations
View all- Expert advice/
- Invites & paper/
- Invitations/
- How to Stuff Wedding Invitations: A Complete Guide
Find even more wedding ideas, inspo, tips, and tricks
We’ve got wedding planning advice on everything from save the dates to wedding cakes.
